how to price merch
How to Price Your Streamer Merch
Not sure how to price merch for your stream? Use this simple cost-plus-profit formula and community sanity check to set a price fans will actually pay.
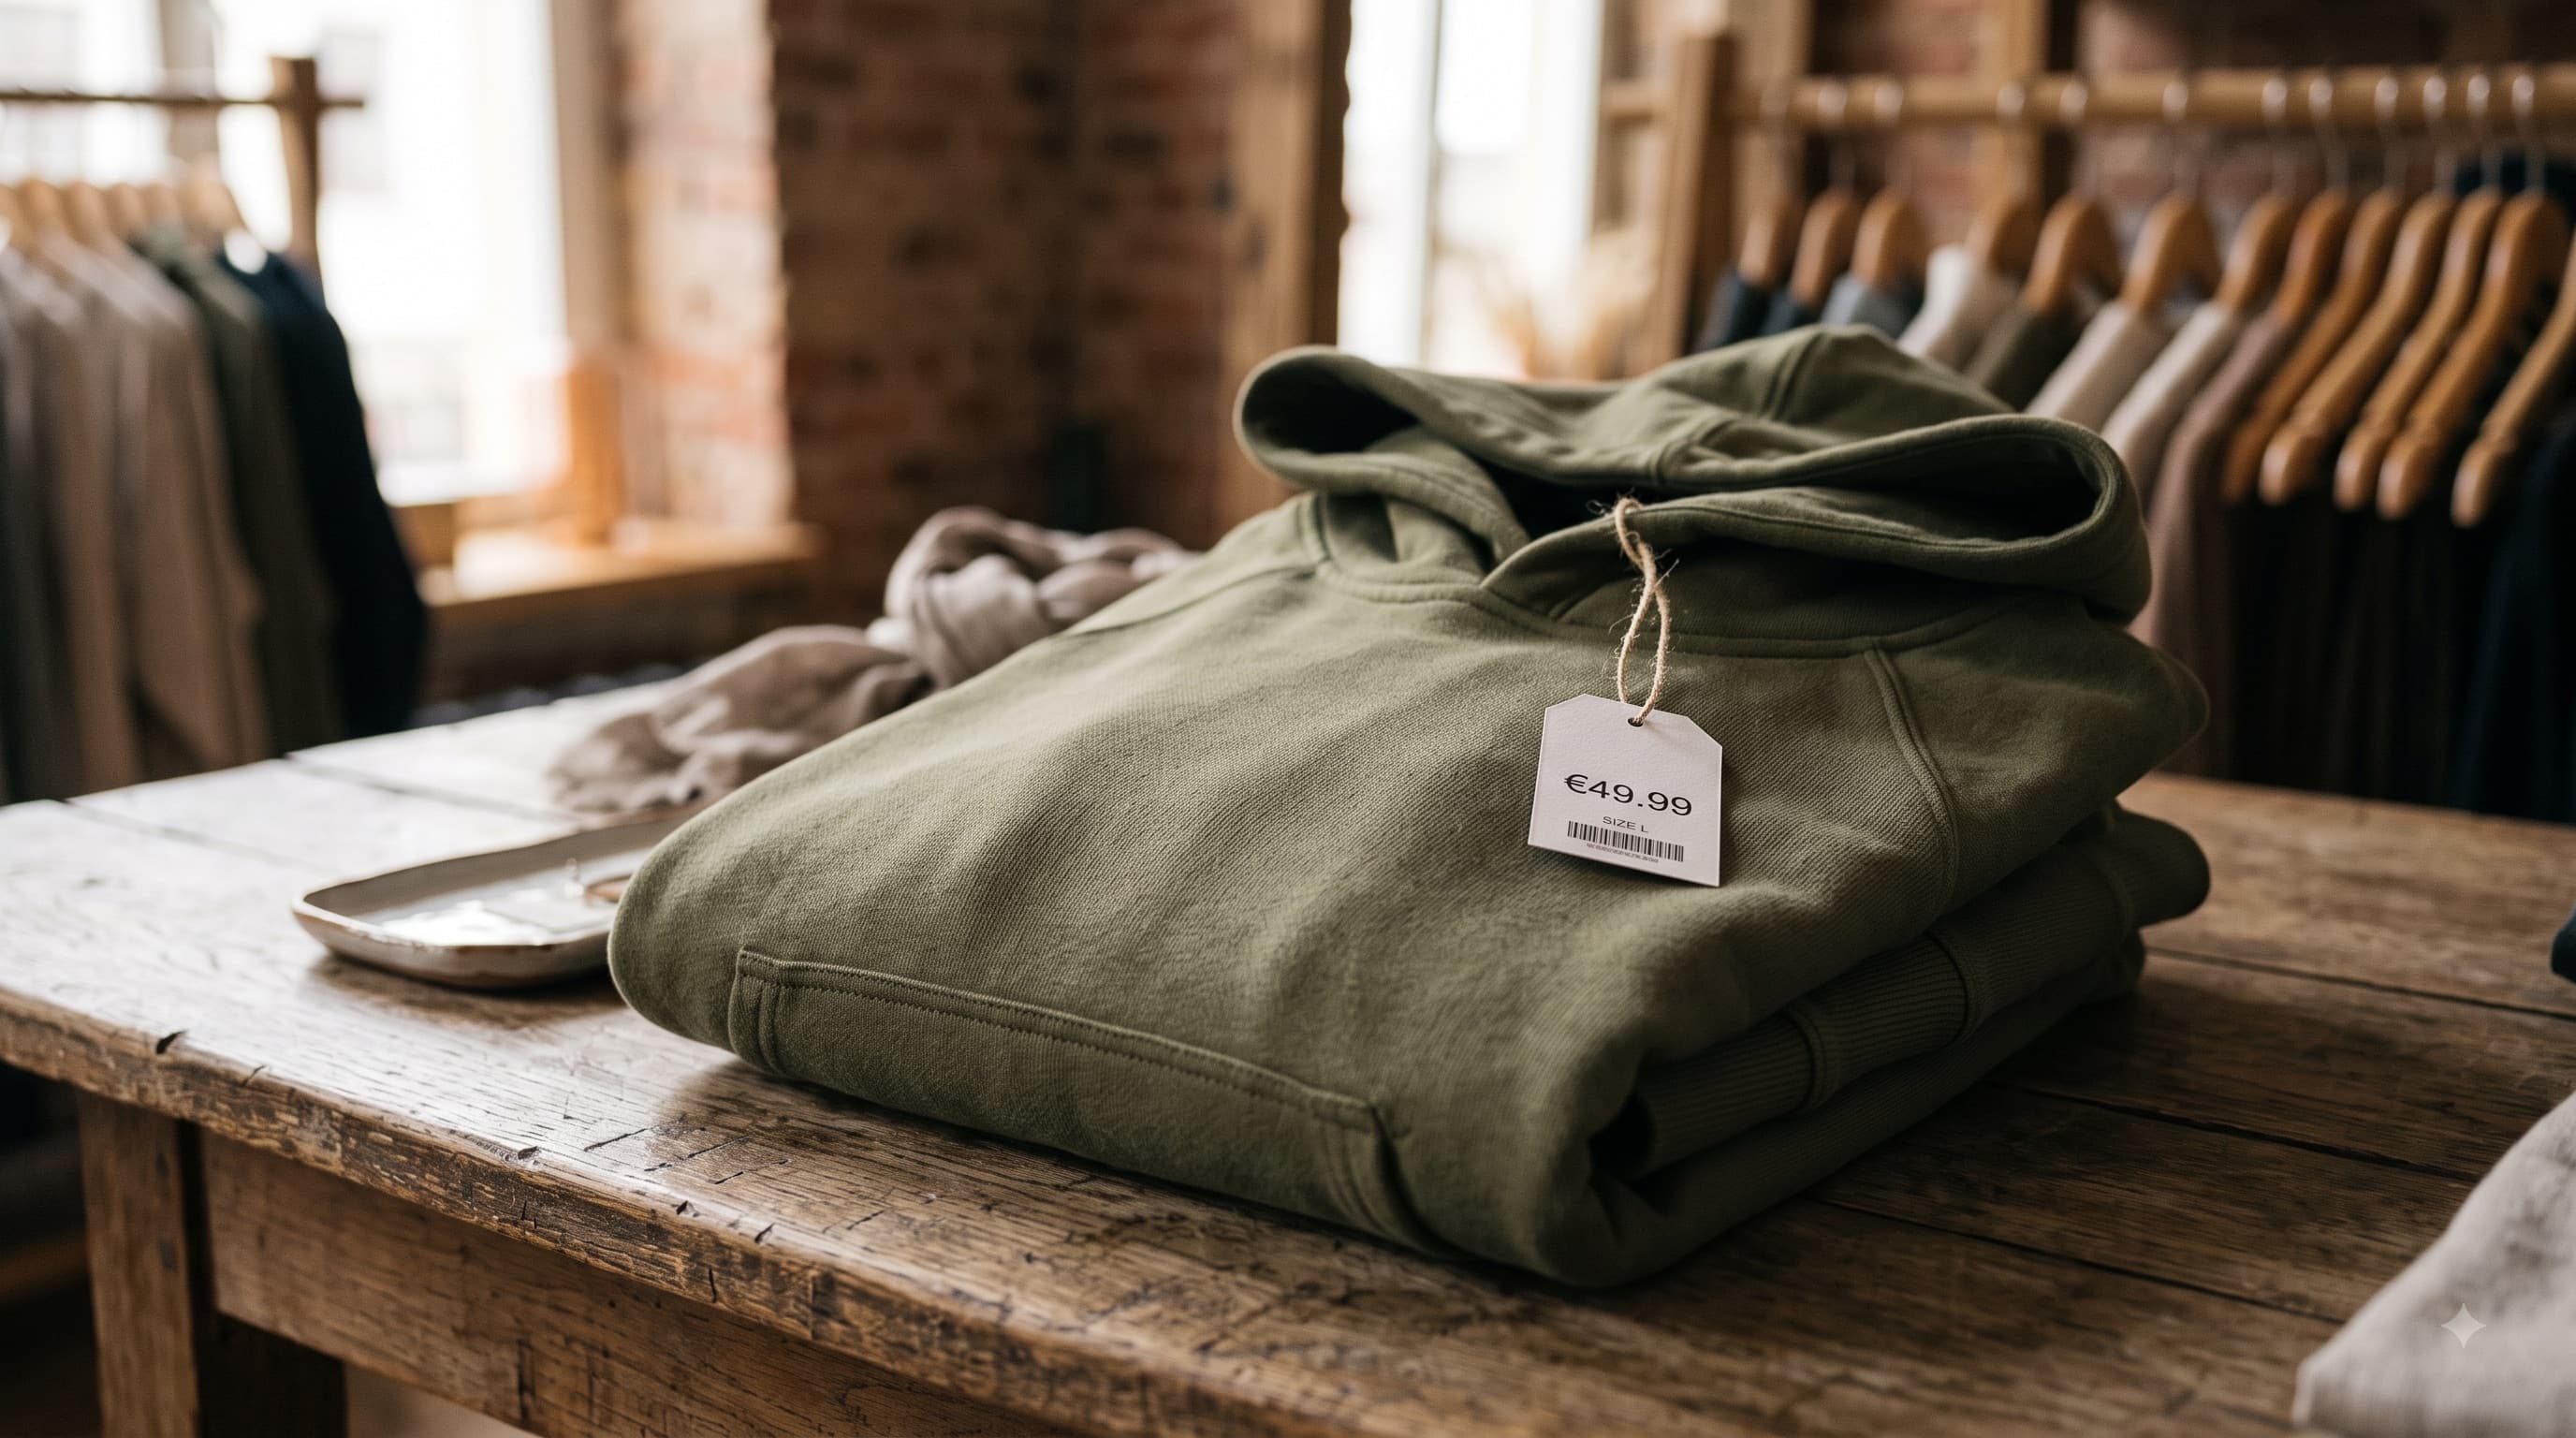
Let's be honest about the two nightmares of launching creator gear. You price a hoodie so high your chat drops a wall of sad-face emotes and nobody buys. Or you price it so low that after fees and shipping, you're basically paying people to wear your logo. Both feel awful, and for smaller creators, that fear is usually enough to kill a design before it ever launches.
I get it. Figuring out how to price merch is the single scariest part of the whole process, way scarier than picking a design. But it doesn't have to be. This merch pricing guide breaks it into a simple formula plus a sanity check, and I promise you don't need 50k subscribers to get it right.
Here's the plan: we'll add up your real costs, add a fair profit, and then check that number against what your community will actually support. Let's get into it.
Step 1: Tally Up Your Real Costs (The Boring-But-Critical Part)
You can't pick a good retail price until you know exactly what you're paying per item. This is your Cost of Goods Sold (COGS), and skipping it is how creators lose money without realizing it.
When you run a stream, there are three main costs to track for every single item in your store. Let's break them down.
The Product Cost
This is the base price of the blank item before you add a single penny of profit. If you're using a print-on-demand provider, this is what they charge you every time a fan orders.
Real numbers help here. According to the Printify catalog, a standard unisex tee like the Gildan 5000 sits in the cheapest tier, while a premium, softer blank like the Bella + Canvas 3001 starts from $11.29 (checked October 2026). That is the lowest-priced print provider's price on the free plan; the same shirt costs more from other providers in Printify's network. For comparison, Printful lists the same Bella + Canvas 3001 at $11.92 for a single front print (checked October 2026). Prices shift with the garment, the print method, the size and the colour, so always check your provider's live catalog.
One thing that quietly wrecks margins is extra print areas. Adding a back print, a sleeve print or a custom neck label isn't free: every placement is charged on top of the blank, and the catalog price you see is for one front print only. Neither Printify nor Printful publishes a flat per-placement price, because it depends on the product and the provider; the exact surcharge appears in the design tool when you add the placement, so read it there before you set your price. Your real base cost is the blank plus every placement you add. For your first drop, keep it simple with a single, high-quality front print to keep your costs manageable.
The Platform Fee
This is the cut your storefront takes. The good news is that creator-focused platforms keep this clean. On Fourthwall, product costs are listed directly in the product catalog as a flat fee, with no monthly fee on the free plan and no percentage taken on catalog products (checked October 2026). To use round numbers as an illustration: if a t-shirt is listed at a $10 base cost, they automatically deduct that $10 from your retail price whenever you make a sale, and you simply set your price above it.
However, you still have to account for payment processing. The standard US card rate is 2.9% plus 30¢ per transaction, which is what Stripe charges and what Fourthwall passes through on US card payments (both checked October 2026). If you run your store through StreamElements or another storefront, check their specific payment splits so you are not surprised when your payout hits.
The "Hidden" Costs
Two specific things sneak up on new creators. First, shipping costs can be a major trap. With print-on-demand, your platform charges you for shipping, and you have to decide whether to pass that cost to the customer or absorb it to offer "free shipping." For reference, Printful's published US rate for a t-shirt is $4.95 for the first item and $2.20 for each additional one (checked October 2026); Printify's rates vary by print provider, so check the rate card for the provider you pick.
Second, do not forget about one-time design fees. If you hired an artist on Fiverr or Twitter to draw your custom emotes or logo, that is a real business expense. You should spread that cost across your first 20 or 30 expected sales rather than trying to make it all back on the very first shirt you sell.
Tip
For your first drop, always stick with print-on-demand. This made-to-order model means products are only printed when a customer places an order, meaning you avoid upfront costs and inventory risk. No boxes of unsold shirts in your closet, and no wasted cash.
Step 2: The Merch Pricing Formula for How to Price Merch
Let's take a deep breath. Here is the core merch pricing formula, and it is genuinely this simple:
Total Base Cost + Your Desired Profit = Your Sale Price
That is the whole equation. Everything else is just plugging in your specific numbers. Let's walk through a real-world example using a standard heavy blend hoodie.
The Worked Example
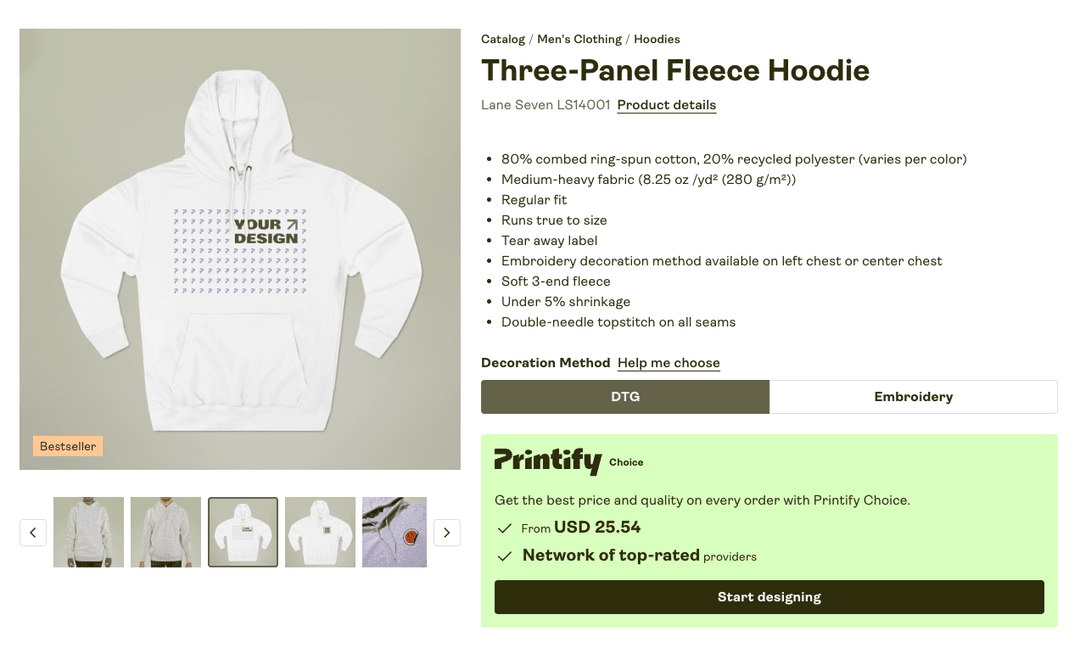
Source: Printify
The numbers below are an illustration with round figures, not a quote; pull your own from the live catalog. Let's say your blank hoodie from your print-on-demand provider costs $24. You decide to charge your community for shipping, so that cost is handled at checkout by the buyer. Your total base cost for the item itself is $24.
Now, you want to make a clear profit of $8 on each hoodie sold.
$24 base cost + $8 profit = $32 sale price.
Before you finalize that $32 price tag, remember that payment processing fees will take a tiny bite. A 3% transaction fee on a $32 sale is about $0.96, plus the flat $0.30 fee. That means your actual take-home profit is closer to $6.74 instead of a flat $8. This is still a healthy margin, but it shows why you should never set your profit margin too thin.
Picking Your Profit Number
Here is the part I wish someone had told me during my first year of streaming: your profit is not a sign of greed. It is how you fund your stream. That $5 or $8 profit per item is not going toward a luxury sports car. It is going toward a better microphone, custom channel emotes, or a new graphics card so your stream runs smoothly.
When you frame your profit as a way to support the stream, it stops feeling uncomfortable. You are not squeezing your chat, you are building the community together.
As a general rule of thumb, most creator-focused stores aim for a healthy 20% to 40% profit margin on apparel. If you hate doing math on the fly, Printful's profit calculator can save you a massive headache. It helps you figure out your exact profit per item by showing your base costs, transaction fees, and final margins side-by-side, so you do not have to guess.
Step 3: The "Chat" Factor: Are They Cool With That Price?
The formula gives you a mathematically sound number, but your community determines if it is a realistic one. This is the crucial step that corporate marketing blogs ignore, and it is the one that decides whether your drop actually sells out.
You are not selling to anonymous retail shoppers on Amazon. You are pricing for the specific people who hang out in your chat, redeem channel points, and support your stream every week. Understanding your audience price sensitivity is vital for maintaining community trust.
Just Ask Your Chat
The easiest way to find your price ceiling is to involve your community directly. Run a simple poll in your Discord server or on Twitter:
| "Hey guys! Getting some samples ready for our first hoodie drop. What price range feels most comfortable for you? A) $35 to $40, B) $40 to $45, C) $45+" |
|---|
This simple poll does two things. First, it gives you real-world data on what will not scare off your chat. Second, it makes your viewers feel like they are active partners in the launch. When viewers feel involved in the creation process, they are far more likely to support the final product.
Understand Perceived Value
Not all custom apparel is viewed equally. An embroidered hoodie feels premium, thick, and durable. A basic screen-printed t-shirt feels light and casual. Because of this, fans are naturally willing to pay more for embroidery, even if your actual margin is exactly the same.
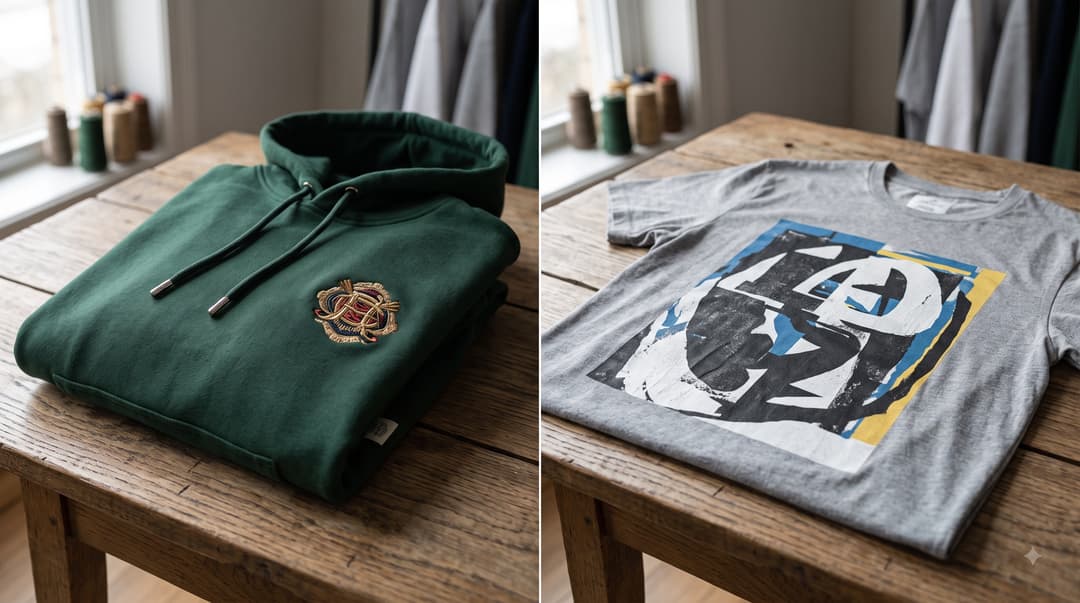
Match your final retail price to the weight and texture of the item. If you are selling a premium heavyweight hoodie, your chat will happily pay $45 or $50. If you are selling a basic sticker or a lightweight plastic water bottle, keep the price low and accessible.
The Mindset That Matters Most
If you take only one piece of advice from this guide, let it be this:
It is always better to sell 20 shirts at a $5 profit than zero shirts at a $15 profit.
Selling 20 shirts means you have 20 loyal fans wearing your brand in the real world, building your stream's visibility, and putting $100 into your stream budget. Selling zero shirts means you have a quiet store and a bruised ego. For your very first drop, prioritize community access over maximum profit.
(Trust me, I learned this the hard way. During my first year of streaming, I priced custom hoodies at $65 because I thought premium meant expensive. I sold exactly two shirts, and one of them was to my mom. Do not make my mistake.)
Step 4: Your Pre-Launch Sanity Check (Your Merch Pricing Strategy)
Before you hit the launch button and share the link on stream, run your final price through this quick checklist. This simple merch pricing strategy takes less than a minute but saves you from awkward moments live on camera.
| Check | Ask Yourself | Status |
|---|---|---|
| Compare to peers | Is my price similar to what other streamers of my size are charging? | ☐ |
| Shipping factored in | Have I clearly stated who pays for shipping at checkout? | ☐ |
| Fair for the item | Would I personally pay this much for this item if I was a fan? | ☐ |
| Excitement test | Am I genuinely excited to show this off and say the price out loud? | ☐ |
That last point is the ultimate gut-check. If you feel nervous or apologetic about the price, your viewers will pick up on that hesitation. A price you are proud of is a price your chat will respect.
When you announce the drop, be completely transparent with your viewers. Tell them about the custom fabric, show the sample on your webcam, and explain that the small profit goes directly toward upgrading the stream. Stream audiences value authenticity, and they will gladly support a creator who treats them with respect.
Wrapping Up
Pricing your gear does not require a business degree or a massive marketing budget. By calculating your exact costs, adding a fair profit, and checking in with your community, you can launch a successful drop with total confidence.
Using a simple calculation keeps your finances safe, while the chat factor ensures your community feels valued. Together, these steps take the stress out of how to price merch for your stream.
You do not need a massive audience to make this work. Focus on your core supporters, keep your pricing honest, and enjoy seeing your community wear your brand. Go run your numbers, launch that store, and have fun with it!
FAQ
Should I offer free shipping on my streamer merch?
Offering free shipping boosts sales, but you must build that shipping cost directly into your retail price. If a shirt costs $15 to produce and $5 to ship, your base cost is $20. To make a $5 profit, you must set the retail price to $25 with "free shipping." For most small streamers, it is cleaner to let the platform calculate shipping at checkout.
What is a normal profit margin for creator merchandise?
Most streamers aim for a profit margin between 20% and 40% on apparel items. For example, if a t-shirt costs $15 to make, selling it for $22 to $25 gives you a healthy, sustainable margin without overcharging your chat. For smaller accessories like stickers or pins, margins can be higher on a percentage basis, though the absolute dollar profit is lower.
How do I handle taxes on my merch sales?
If you use a creator platform like Fourthwall, they handle sales tax collection and remittance automatically in most regions. If you are running an independent store on Shopify, you will need to configure your tax settings based on your state or country of residence. Always consult a local tax professional if you are unsure about your specific tax obligations.
What is the best print-on-demand item to launch first?
A classic, high-quality unisex t-shirt or a comfortable hoodie is the best starting point. These items have a high perceived value, wide appeal, and reliable sizing. Avoid complex items like phone cases or fitted pants for your first drop, as managing different sizes and device models can quickly become overwhelming for a small stream.
Keep reading
- Custom Desk Mats for Streamer Merch: The Full Guide
Thinking about a custom desk mat for your streamer merch? This is the complete guide to design, finding a printer, and setting a price your community will love.
- Instagram Shop vs. Linktree: Which Is Better for Streamer Merch?
Instagram Shop vs Linktree: which is better for your streamer merch? We break down the pros, cons, fees, and follower experience to help you choose the right tool.
- Streamer Merch Brand Name Ideas (+ How to Check If It’s Free)
Looking for streamer merch brand name ideas? Get 50+ creative names plus a simple 4-step guide on how to check if your new brand name is free to use.