how to design merch
How to Design Merch Fans Actually Want to Wear
Learn how to design merch your fans will actually wear. Get merch design ideas, practical tips, and a step-by-step guide for your first drop.
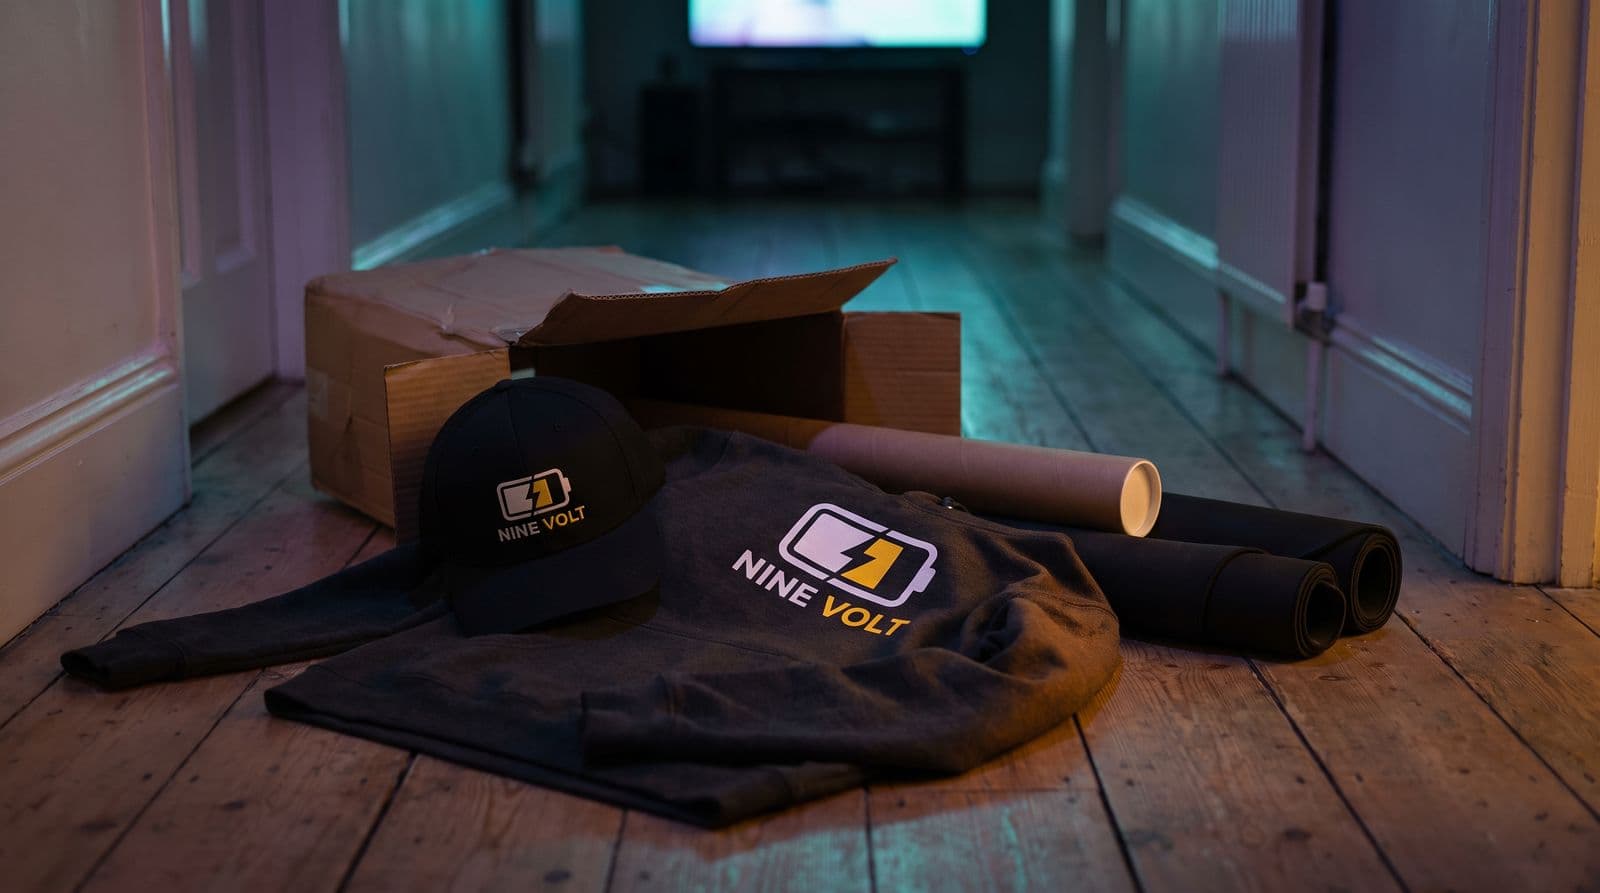
Let’s be honest for a second. Most streamer merch is kind of bad. It’s usually just a giant, awkward logo slapped on a black t-shirt that gets worn once to be nice and then immediately becomes a pajama shirt. Or worse, a laundry day shirt. You know the ones.
The thing nobody tells you is that the best merch has almost nothing to do with your logo. It’s an inside joke. It’s a secret handshake that only your community understands. It tells a story that makes a fan feel like they’re part of something special.
This guide is not going to turn you into a pro graphic designer overnight. I’m definitely not one. This is a real, practical plan for designing merch your people will actually be excited to wear out in the wild. It starts with listening, not with opening Photoshop.
Step 1: Figure Out What Your Community Actually Wants
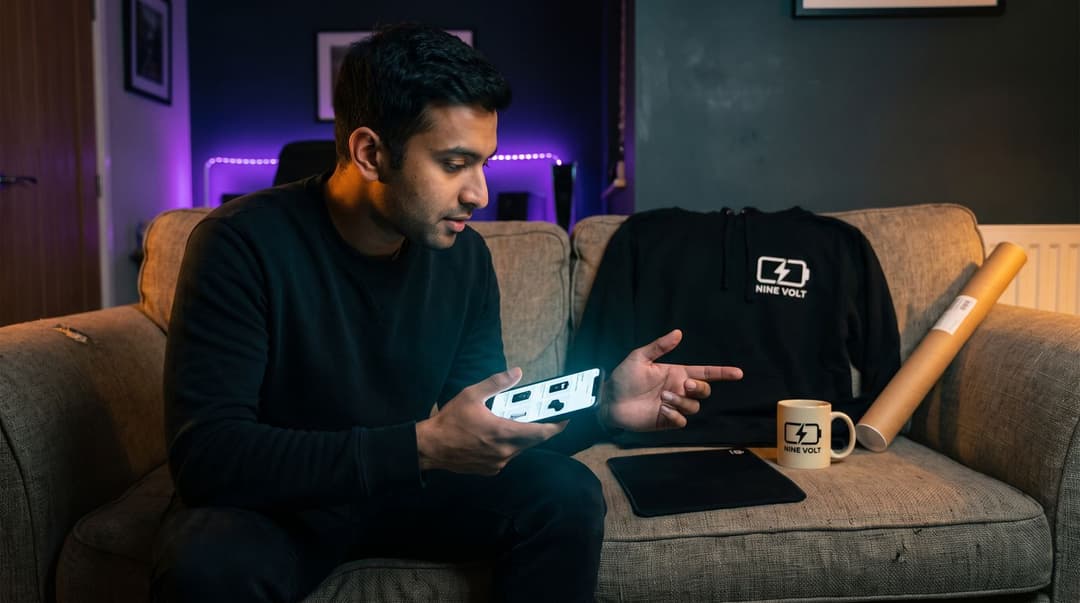
Before you even think about colors or fonts, you need to do some homework. The absolute biggest mistake you can make is guessing what your community wants. I did that with my first drop. I made a shirt I thought was cool, and I think my mom and two of my mods bought one. Ouch.
Your goal is to become a detective. Your chat is leaving clues for you all the time. You just have to know where to look.
Here’s your action plan:
- Run a poll (or several). This is the easiest win. Use your YouTube community tab, a dedicated channel in your Discord, or a Twitter poll. Don’t just ask, “Do you want merch?” Ask specific questions. What items would you actually use: hoodies, hats, mugs, stickers? What kind of designs do you prefer: a big graphic, a small embroidered logo, something text-based, or a subtle pattern?
- Mine your own VODs for inside jokes. This is your goldmine. Every community has its own language. What are the catchphrases, emotes, and running gags that pop up in your chat constantly? What are the legendary moments from past streams that everyone still talks about? Write down a list of the top 3-5 of these. These are your strongest starting points for a design that feels authentic.
- Look at what they already wear. This sounds stalker-ish, I know, but it works. If you do IRL streams or have a selfies channel in Discord, pay attention. Is your community’s style more loud and colorful, or is it more minimalist and clean? If they’re all wearing subtle band tees and clean skate brands, your giant, neon-green design with your face on it probably isn’t going to fly.
Step 2: Brainstorming Merch Design Ideas That Don’t Suck
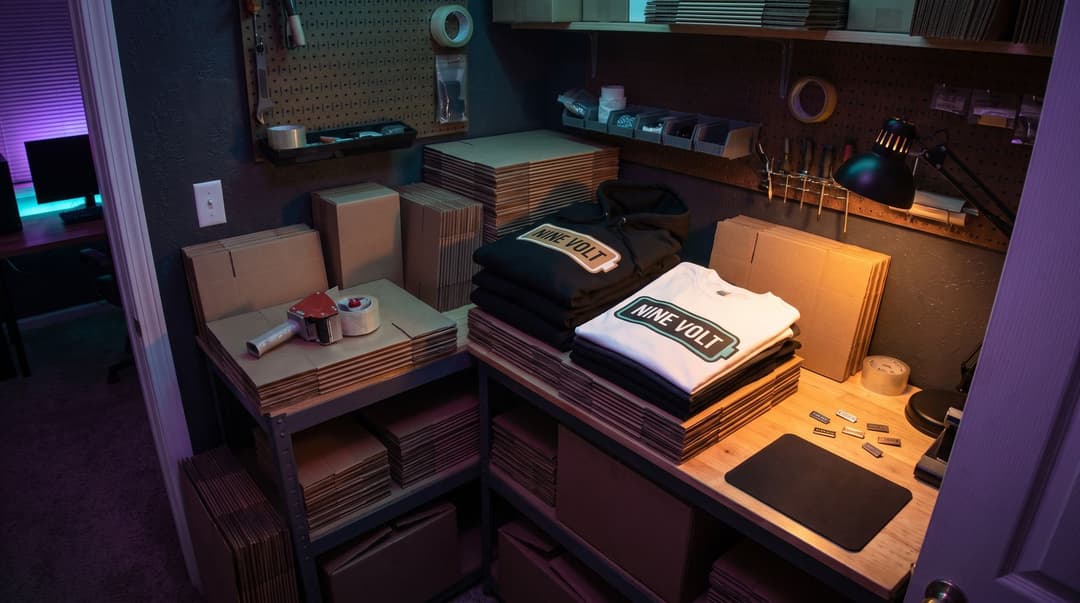
Okay, you’ve done your research. You have a list of memes, phrases, and a general vibe for what your community likes. Now we turn that into actual concepts. The key here is to create something that feels like it belongs to the whole community, not just a billboard for your channel.
Think about merch designs in three tiers. You don’t need all three, but it helps to know your options.
Tier 1: The Inside Joke
This is the purest form of community merch. It’s usually text-based or uses a simple icon to reference a meme. It’s completely meaningless to an outsider, which is what makes it so cool for a fan. Think of a simple shirt that just says, “It’s a five-man.” If you know, you know. This is often the most effective and easiest place to start.
Tier 2: The Subtle Nod
This design looks cool to anyone but is instantly recognizable to a fan. It’s less about a specific joke and more about the overall brand. This could be a small, clean embroidered version of an emote on a hat, a stylized graphic of a character you main, or a cool design inspired by your stream’s lore. It’s a way for someone to support you without screaming, “I WATCH STREAMS.”
Tier 3: The Legit Art Piece
This is the most ambitious and expensive option. You commission a talented artist to create a full-blown illustration that could stand on its own. The design is so good that people might buy it just because the art is incredible, with the connection to your stream being a bonus. This is great for a more premium item, like the back of a hoodie or a limited-run poster.
My advice? Start with ONE great design. Seriously. Don’t try to launch a full-on clothing line with ten different designs on day one. Pick your strongest idea from your research, focus it into one of the tiers above, and pour all your energy into making one t-shirt or hoodie absolutely perfect. If you’re stuck in a rut, we’ve got a whole list of 10 streamer merch ideas and design concepts to get you started.
Step 3: The Nitty-Gritty of Making the Design
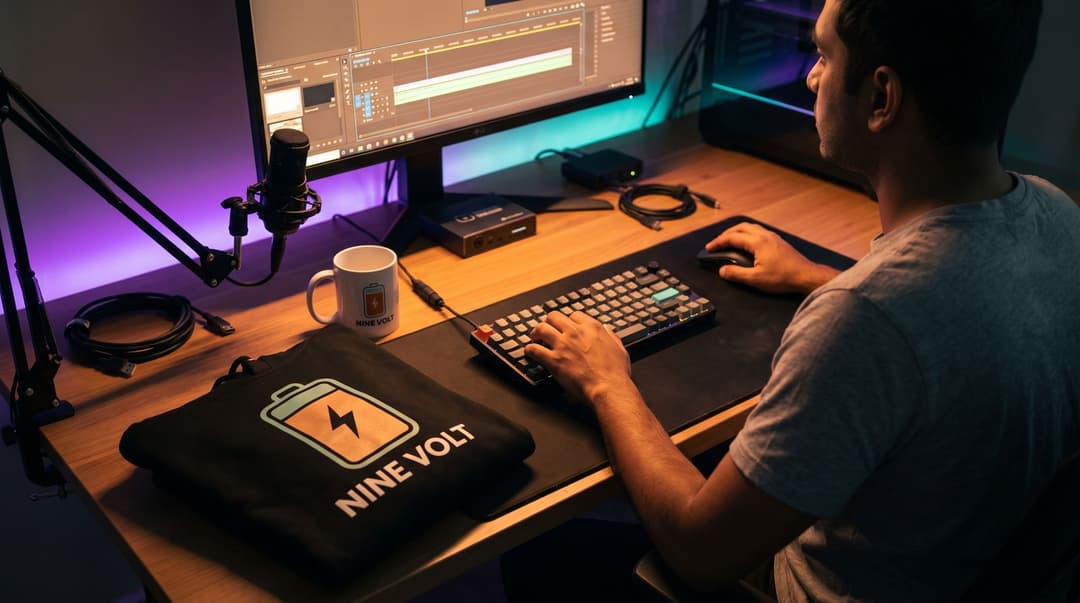
This is where the magic happens. You have the idea, now you have to turn it into a digital file that a printer can actually use. This part can feel intimidating, but it doesn’t have to be.
First, you have a choice to make: DIY or hire an artist?
- Hiring an Artist: This is the best way to get a professional result, and it supports another creator in the process. You can find amazing artists on Twitter, in Discord art communities, or on sites like Fiverr. Be clear with your concept, provide examples, and be prepared to pay a fair price for their time and skill. One more thing: if an artist made your emotes, check that your agreement with them covers merch before you print them on anything.
- Doing It Yourself (DIY): This is the cheapest route, and it gives you full control. If you want to try it yourself, you don’t need to be a Photoshop master; you can get a surprisingly long way with a free tool like Canva. Or you can design directly inside your print-on-demand platform. Both Printful’s Design Maker and Printify’s Product Creator are free, have text tools and clipart libraries, and let you upload your own graphics and preview them on the actual product before you commit.
If you’re going the DIY route, here are a few non-negotiable rules for non-designers:
- File Type Matters. You’ll see terms like vector (SVG, AI) and raster (PNG, JPG). For most print-on-demand merch, all you need to worry about is making a high-quality PNG file with a transparent background. The transparency is key so you don’t end up with a big white box printed around your design.
- Resolution is King. Your design file must be at least 300 DPI (Dots Per Inch) at the size it’ll actually be printed (for a full chest print, that’s roughly 3,600 × 4,800 pixels). If you design something at a low resolution, it will look fuzzy and pixelated when it’s printed on a shirt. It’s the fastest way to look unprofessional. If you’re using images, make sure they’re high quality and from a site like Unsplash that offers free commercial use.
- Pick a Simple Color Palette. A design with two or three well-chosen colors will almost always look better than one with ten clashing colors. If you need help, a free tool like Adobe Color can help you find colors that work well together.
- Choose a Readable Font. Avoid super-thin or crazy script fonts that are hard to read from a distance. You want your joke or catchphrase to land. Google Fonts is an amazing resource for high-quality, free-to-use fonts. Just make sure to check that the license allows for commercial use.
Common Merch Design Fails (And How to Avoid Them)
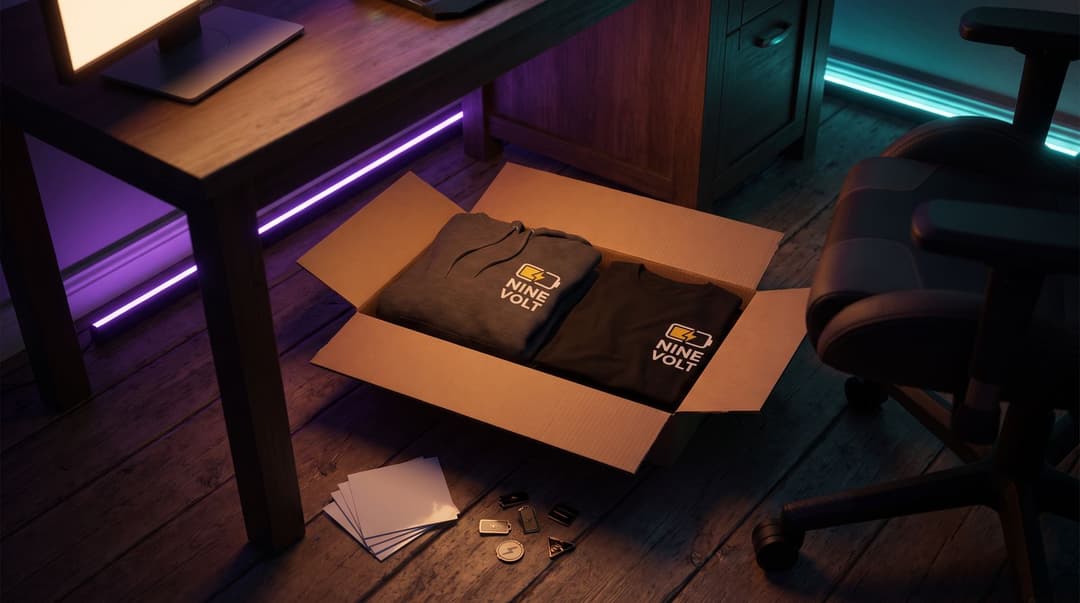
I’ve made… pretty much all of these mistakes. So please, learn from my poorly designed, high-cost-per-unit pain.
Here’s a quick checklist of what not to do:
- The Giant Logo Billboard. Your face or your logo does not need to be the size of a dinner plate on the front of a shirt. People want to support you, not feel like a walking advertisement. Try a smaller logo on the chest or sleeve, or put the big art on the back of the hoodie.
- Awkward Placement. A design that looks perfect on a flat digital mockup can look really weird on an actual human body. A design placed too low can look like a belly print, and text that wraps too far around the sides becomes unreadable. Always order a sample to see how it fits and wears in real life before you launch it. Both Printful and Printify let you order a single unit for yourself before you list it, so there’s no excuse to skip this.
- Ignoring the Garment Color. That cool, dark grey design that looked amazing on your monitor? It’s going to completely disappear on a black or navy shirt. Make sure your design has enough contrast with the fabric colors you plan to offer. Test it on both light and dark mockups.
- Text That’s Impossible to Read. This is a big one. Overly complicated, distressed, or skinny fonts look awful when printed. They get fuzzy and bleed together. When in doubt, keep your text bold, simple, and clear.
You Got This
Here’s the main takeaway for how to design merch: it all starts with your community. The best merch ideas come from listening to your chat, not from staring at a blank canvas. It’s about creating something with them, not just for them.
Remember to start small. Focus on one single, awesome design that your community will genuinely connect with. Your first merch drop doesn’t have to be perfect or make you a millionaire. It just has to be something that your core supporters will be stoked to wear.
Now go make something cool.
FAQ
How much should I pay for a merch design?
It varies wildly, from $50 for a simple text design on a freelance site to $500+ for a custom illustration from an established artist.
Do I need to be a good artist to design my own merch?
No, you can create awesome, minimalist, or text-based designs with free tools. The idea is often more important than your technical art skill.
What's the best file format for merch designs?
A high-resolution (300 DPI) PNG with a transparent background is the standard for almost all print-on-demand services.
Keep reading
- 10 Streamer Merch Ideas and Design Concepts Fans Actually Buy
Explore 10 streamer merch ideas fans actually buy, from mascots and inside jokes to limited drops and desk setups, plus tips on bringing designs to life.
- Esports Merch: A Guide to What Fans Actually Buy
Trying to figure out what esports merch your fans will actually buy? We break down the essential items, the psychology behind fan purchases, and how to launch your first drop without risk.
- How to Design Streamer Merch That Actually Looks Pro
Learn how to design streamer merch that looks professional and your community will love to wear. A step-by-step guide from initial ideas to print-ready files.