custom keychains
A Creator’s Guide to Custom Acrylic Merch
Ready to make your first merch drop? Learn how to design and sell custom keychains, charms, and standees that your community will actually love and collect.
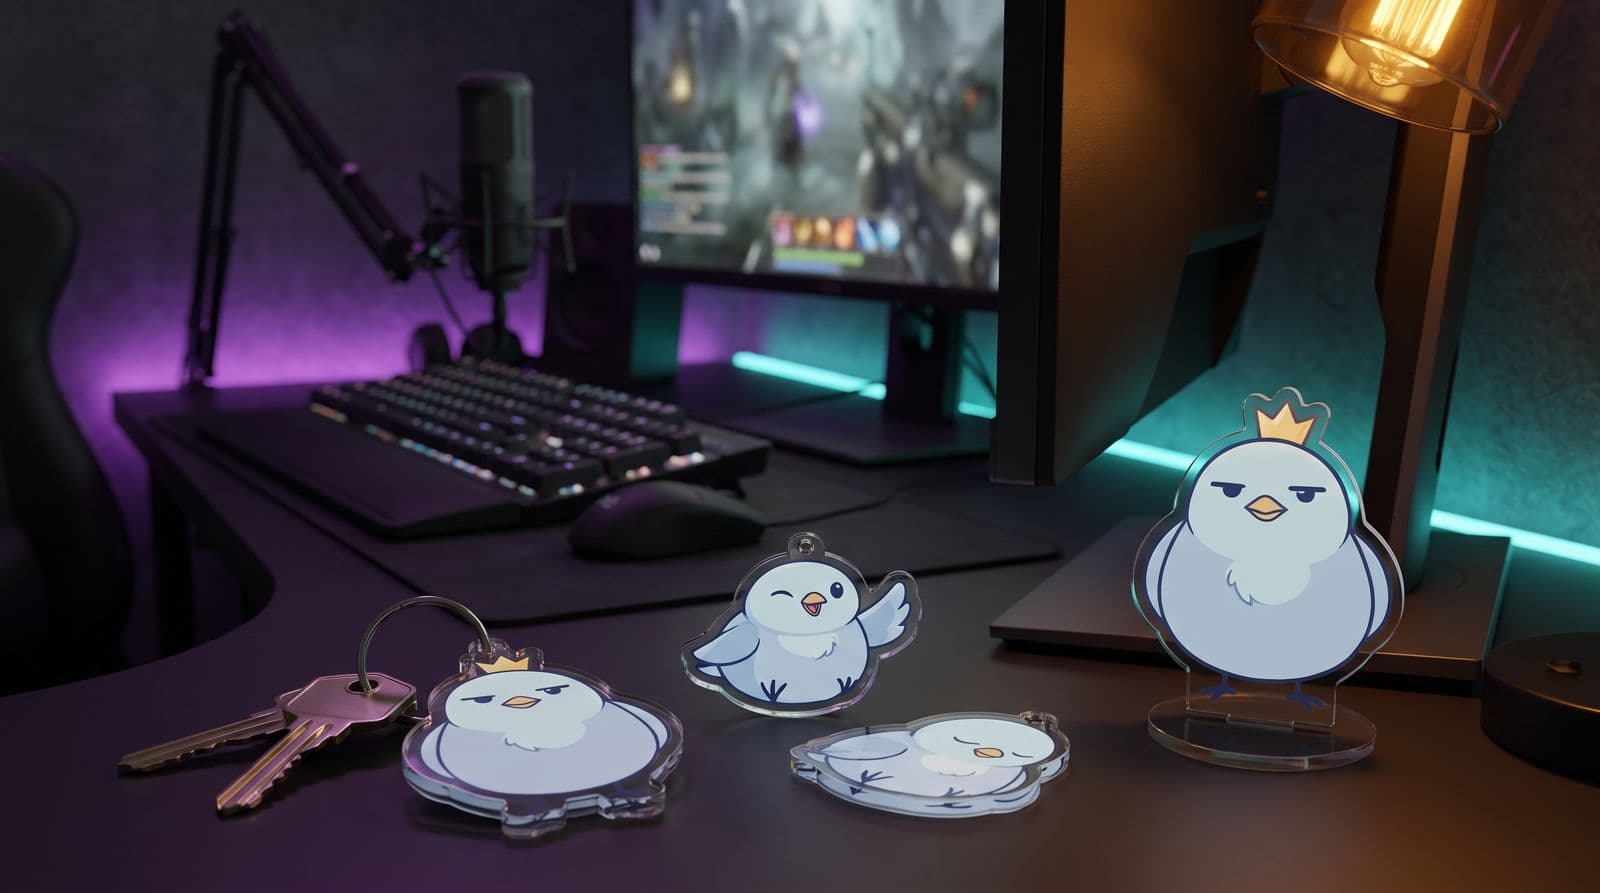
Why Acrylic Merch Punches Above Its Weight
So, you’re thinking about your first merch drop. You could do a t-shirt, and that’s fine. But let’s be honest, everyone does a t-shirt. Acrylic merch, things like keychains, charms, and little desktop standees, is where it’s at for a small creator, and here’s why.
First, the math just works. As a rough guide (prices vary by maker, size and finish, so check the quote), a keychain might cost you $2 to $4 per piece to get made in a small batch. To a fan, that’s a cool, physical piece of your community that feels like a solid $10 or $15 item. It’s an easy purchase for them to make to show support, and a much smaller ask than a $40 hoodie. The profit margin can be surprisingly good, even on a small scale.
Second, acrylics tap into the collector’s brain. A keychain or a charm is basically a physical emote. It’s small, it’s fun, and people love to collect them. You can release a new design to celebrate hitting a sub goal, for a channel anniversary, or just because. It doesn’t have to be a giant, stressful launch event every time. You’re creating little trophies that mark moments in your community’s history.
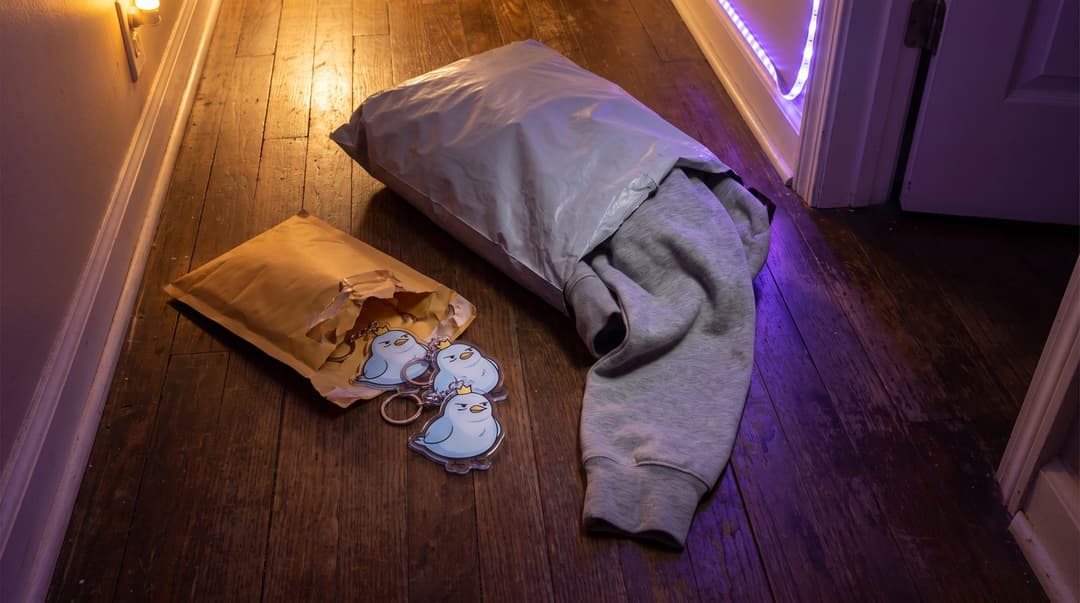
And finally, the boring but super important part: shipping. I have lost so much money shipping hoodies. They’re bulky, they’re heavy, and the costs add up. A keychain? It fits in a tiny padded envelope. It’s cheap to ship for you, and it’s cheap for your community, which means more people are willing to buy, especially if they’re international.
From Idea to Art File: Designing Your First Piece
This is the fun part, but it’s also where a lot of people get stuck. The secret is to stop thinking about your merch as a walking billboard and start thinking of it as an inside joke.
Your logo is fine, but it’s probably not what your community connects with most. What’s a running gag in your chat? What’s your most-spammed emote? Do you have a VTuber avatar you could draw in a goofy pose? That’s the stuff that makes for great custom charms. This is about creating something that feels like it belongs to your community. For a deeper dive on this, we have a whole guide on how to design merch fans actually want to wear.
Once you have your idea, you need to get the art file right. This is where it gets a little technical, but don’t worry, it’s not as scary as it sounds. Here’s the breakdown.
File Type and Resolution
Good news if you draw in Procreate, Clip Studio, or Photoshop: charm manufacturers mostly want a high-resolution raster file, not a vector. The usual ask is a PNG or layered PSD at 300 DPI, built at about twice the size of the finished charm, with any see-through areas on their own layer. Vector files (AI, EPS, SVG) are accepted too and stay sharp at any size, but they’re not required. Work big from the start. You can always shrink a big image, but a small one blown up turns into a blurry mess. If you want the background on the difference, Adobe’s guide to vector versus raster is a good primer.
CMYK vs. RGB
Your computer screen creates color with light (Red, Green, Blue, or RGB). A printer creates color with ink (Cyan, Magenta, Yellow, Black, or CMYK). They are fundamentally different, which is why the super-vibrant neon green on your screen might look a little duller when printed. You don’t need to design in CMYK; manufacturers convert your file themselves. Design in RGB, and if your program has a CMYK proof or soft-proof view, flip it on to preview how the colors will shift before you send the file. If you go the print-on-demand route, most services ask specifically for sRGB, so leave the file in RGB either way.
Bleed, Cutlines, and Transparency
These are the three terms you’ll see on every manufacturer’s template.
- Cutline: This is the exact line where the machine will cut your charm. Think of it like a cookie cutter.
- Bleed: This is extra art that extends a little bit past your cutline. It’s a safety margin, so if the cut is a tiny bit off, you don’t end up with a weird white edge.
- Transparency: This is where you tell the printer which parts should be see-through acrylic. You usually mark these areas with a specific color on a separate layer in your file.
Don’t stress about memorizing this. Most manufacturers have a specific template, like Vograce’s file setup guide, which you should always follow. Just download their file and build your art inside it.
The Lingo Explained: Finishes, Fittings, and Other Choices
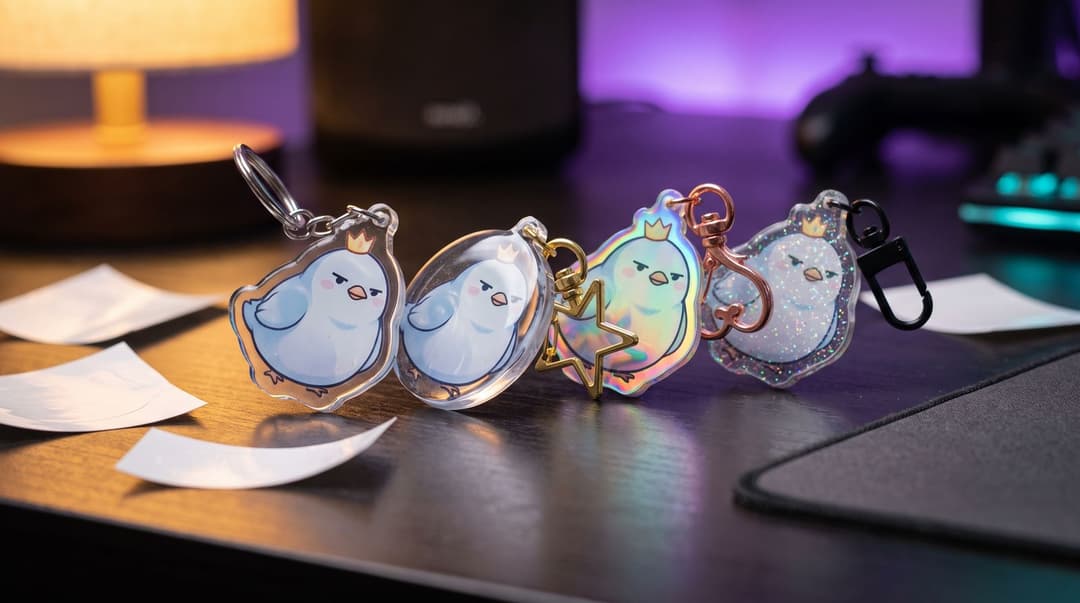
When you go to order, you’ll be hit with a bunch of options. They seem confusing, but they’re actually really cool ways to make your merch feel unique. Here’s a quick rundown of the most common choices.
Finishes Checklist
- Standard Acrylic: This is the basic, clear, glossy option. It’s classic and always looks good.
- Epoxy Coating: A clear, domed layer of resin is poured over one or both sides. It protects the art from scratches and gives it a super smooth, rounded, premium feel. Highly recommended if you can swing it.
- Holographic: The art is printed on a material that creates a rainbow shimmer effect when it catches the light. There are different patterns, like broken glass or stars.
- Glitter: Like the holographic option, but with glitter mixed into the epoxy or acrylic. It adds a ton of sparkle and texture.
Fittings (The Metal Bit)
This is the actual clasp or ring that makes your charm a keychain. Don’t just stick with the default silver ring. For a few extra cents per piece, you can get clasps in different colors (like gold, rose gold, or black) and shapes (stars, hearts, moons, lobster clasps). This small detail adds a ton of personality and makes the whole thing feel more deliberate and designed.
Double-Sided Printing
Most manufacturers let you print a different design on the back for no extra cost. This is a fantastic opportunity to add a little secret for your fans. Maybe your character has a happy expression on the front and a salty one on the back. Or you could have your main design on the front and a simple logo or pattern on the back. It’s a simple way to add value and make your merch feel more special.
Getting Your Merch Made: Finding a Supplier
Okay, your art is done. Now, how do you turn that file into a real thing? You have two main paths, each with its own pros and cons for a small creator.
Path 1: The Bulk Order Route
This means you find a manufacturer and order a batch of your keychains. Minimums are lower than you’d think: some manufacturers start at 10 pieces, and Vograce lists no minimum at all (checked October 2026), so “bulk” can mean a batch of 20.
- The Good: This gets you the absolute lowest cost per item, meaning your profit margin is much higher. You also get way more customization options for things like glitter, epoxy, and special fittings. There are many great manufacturers like Zap! Creatives that are popular with indie artists.
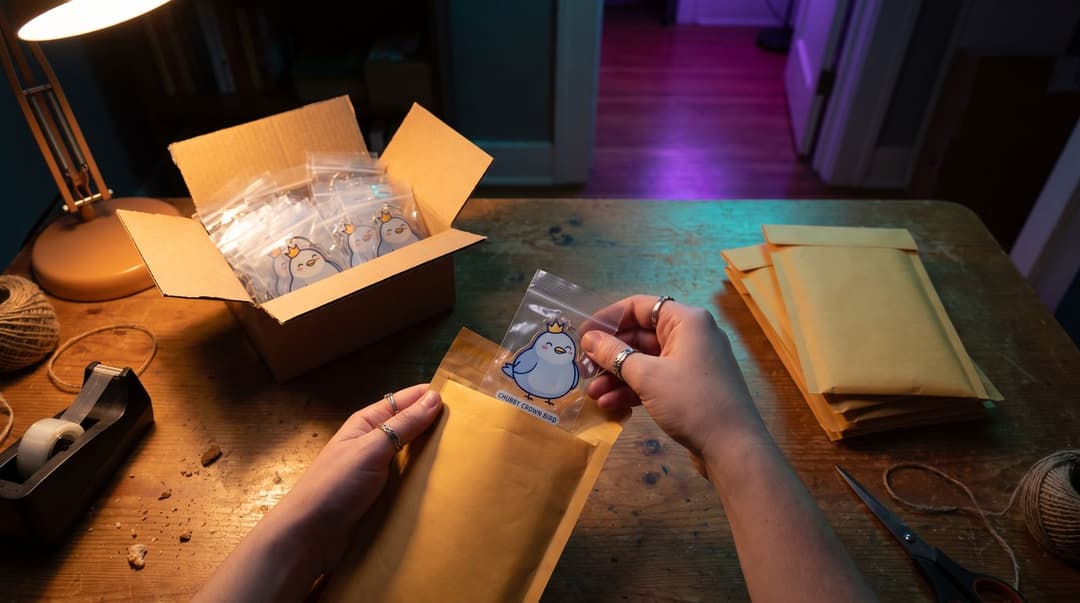
- The Bad: You have to pay for all of it upfront. That can be hundreds of dollars before you’ve made a single sale. You also have to store all that inventory and, crucially, pack and ship every single order yourself. Trust me, the grind of packing 50 envelopes is real.
Path 2: The Print-on-Demand (POD) Route
This is where you upload your design to a service that makes and ships the product for you, one at a time, only when someone buys it.
- The Good: There is zero upfront cost and zero risk. You don’t pay a dime until you make a sale. You never have to see a box or a shipping label. Printify has custom-shape acrylic keychains from about $3.74, and Fourthwall sells them through its creator storefronts from $6.95, both with no minimum (both checked October 2026).
- The Bad: The cost per item is much higher, so your profit margin is way smaller. You also have far fewer customization options; you’ll likely be limited to standard acrylic and basic fittings, with no epoxy, holographic, or glitter options.
So, what’s the right call? For your very first drop, start with print-on-demand. Test your design. See if people are actually interested. If you sell 20 or 30 keychains via POD, that’s your proof. For your next drop, you can take your profits and confidently invest in a small bulk run, knowing there’s a demand for it.
Your First Drop Awaits
And that’s really it. A creator’s guide to custom acrylic merch is pretty simple: make something that feels like a secret handshake with your community. Don’t worry about selling thousands. Focus on making something cool for the 50 people who show up to every stream.
Acrylic merch is one of the most fun, accessible, and low-risk ways to give your chat a piece of the world you’re building together. It’s not about getting rich; it’s about making someone smile when they see a little inside joke dangling from their keys. Start small, make something you’re proud of, and see what happens.
FAQ
How much do custom keychains cost to make?
It depends on quantity, size, and finishes, so treat these as rough ranges. For a bulk order of 50 to 100, you might pay a dollar to a few dollars per piece. A print-on-demand service has a higher base cost, often somewhere in the mid single digits, but with no minimum order.
What’s the minimum order for custom acrylic charms?
For most bulk manufacturers, the minimum order quantity (MOQ) is usually 25 or 50 pieces per design. With print-on-demand services, the minimum is one, since each item is made to order.
Can I use my Twitch emotes for keychain designs?
Absolutely, as long as you own the rights to the artwork. Emotes make fantastic, instantly recognizable charm designs that your chat will already have a connection with.
Keep reading
- Custom Desk Mats for Streamer Merch: The Full Guide
Thinking about a custom desk mat for your streamer merch? This is the complete guide to design, finding a printer, and setting a price your community will love.
- How to Sell Merch on TikTok Shop: A Creator's Guide
Ready to sell your own TikTok merch? Our creator's guide walks you through setting up TikTok Shop, designing your first item, and selling with shoppable videos.
- How to Sell Merch on Discord: A Creator's Guide
Ready to sell Discord merch to your community? Our guide shows you how to design, set up a store, and promote your drop without being spammy.