how to launch your first merch drop
How to Launch Your First Merch Drop: The Complete Guide
Ready to try launching merch for your community? This is the complete guide on how to launch your first merch drop, from the first design to launch day.
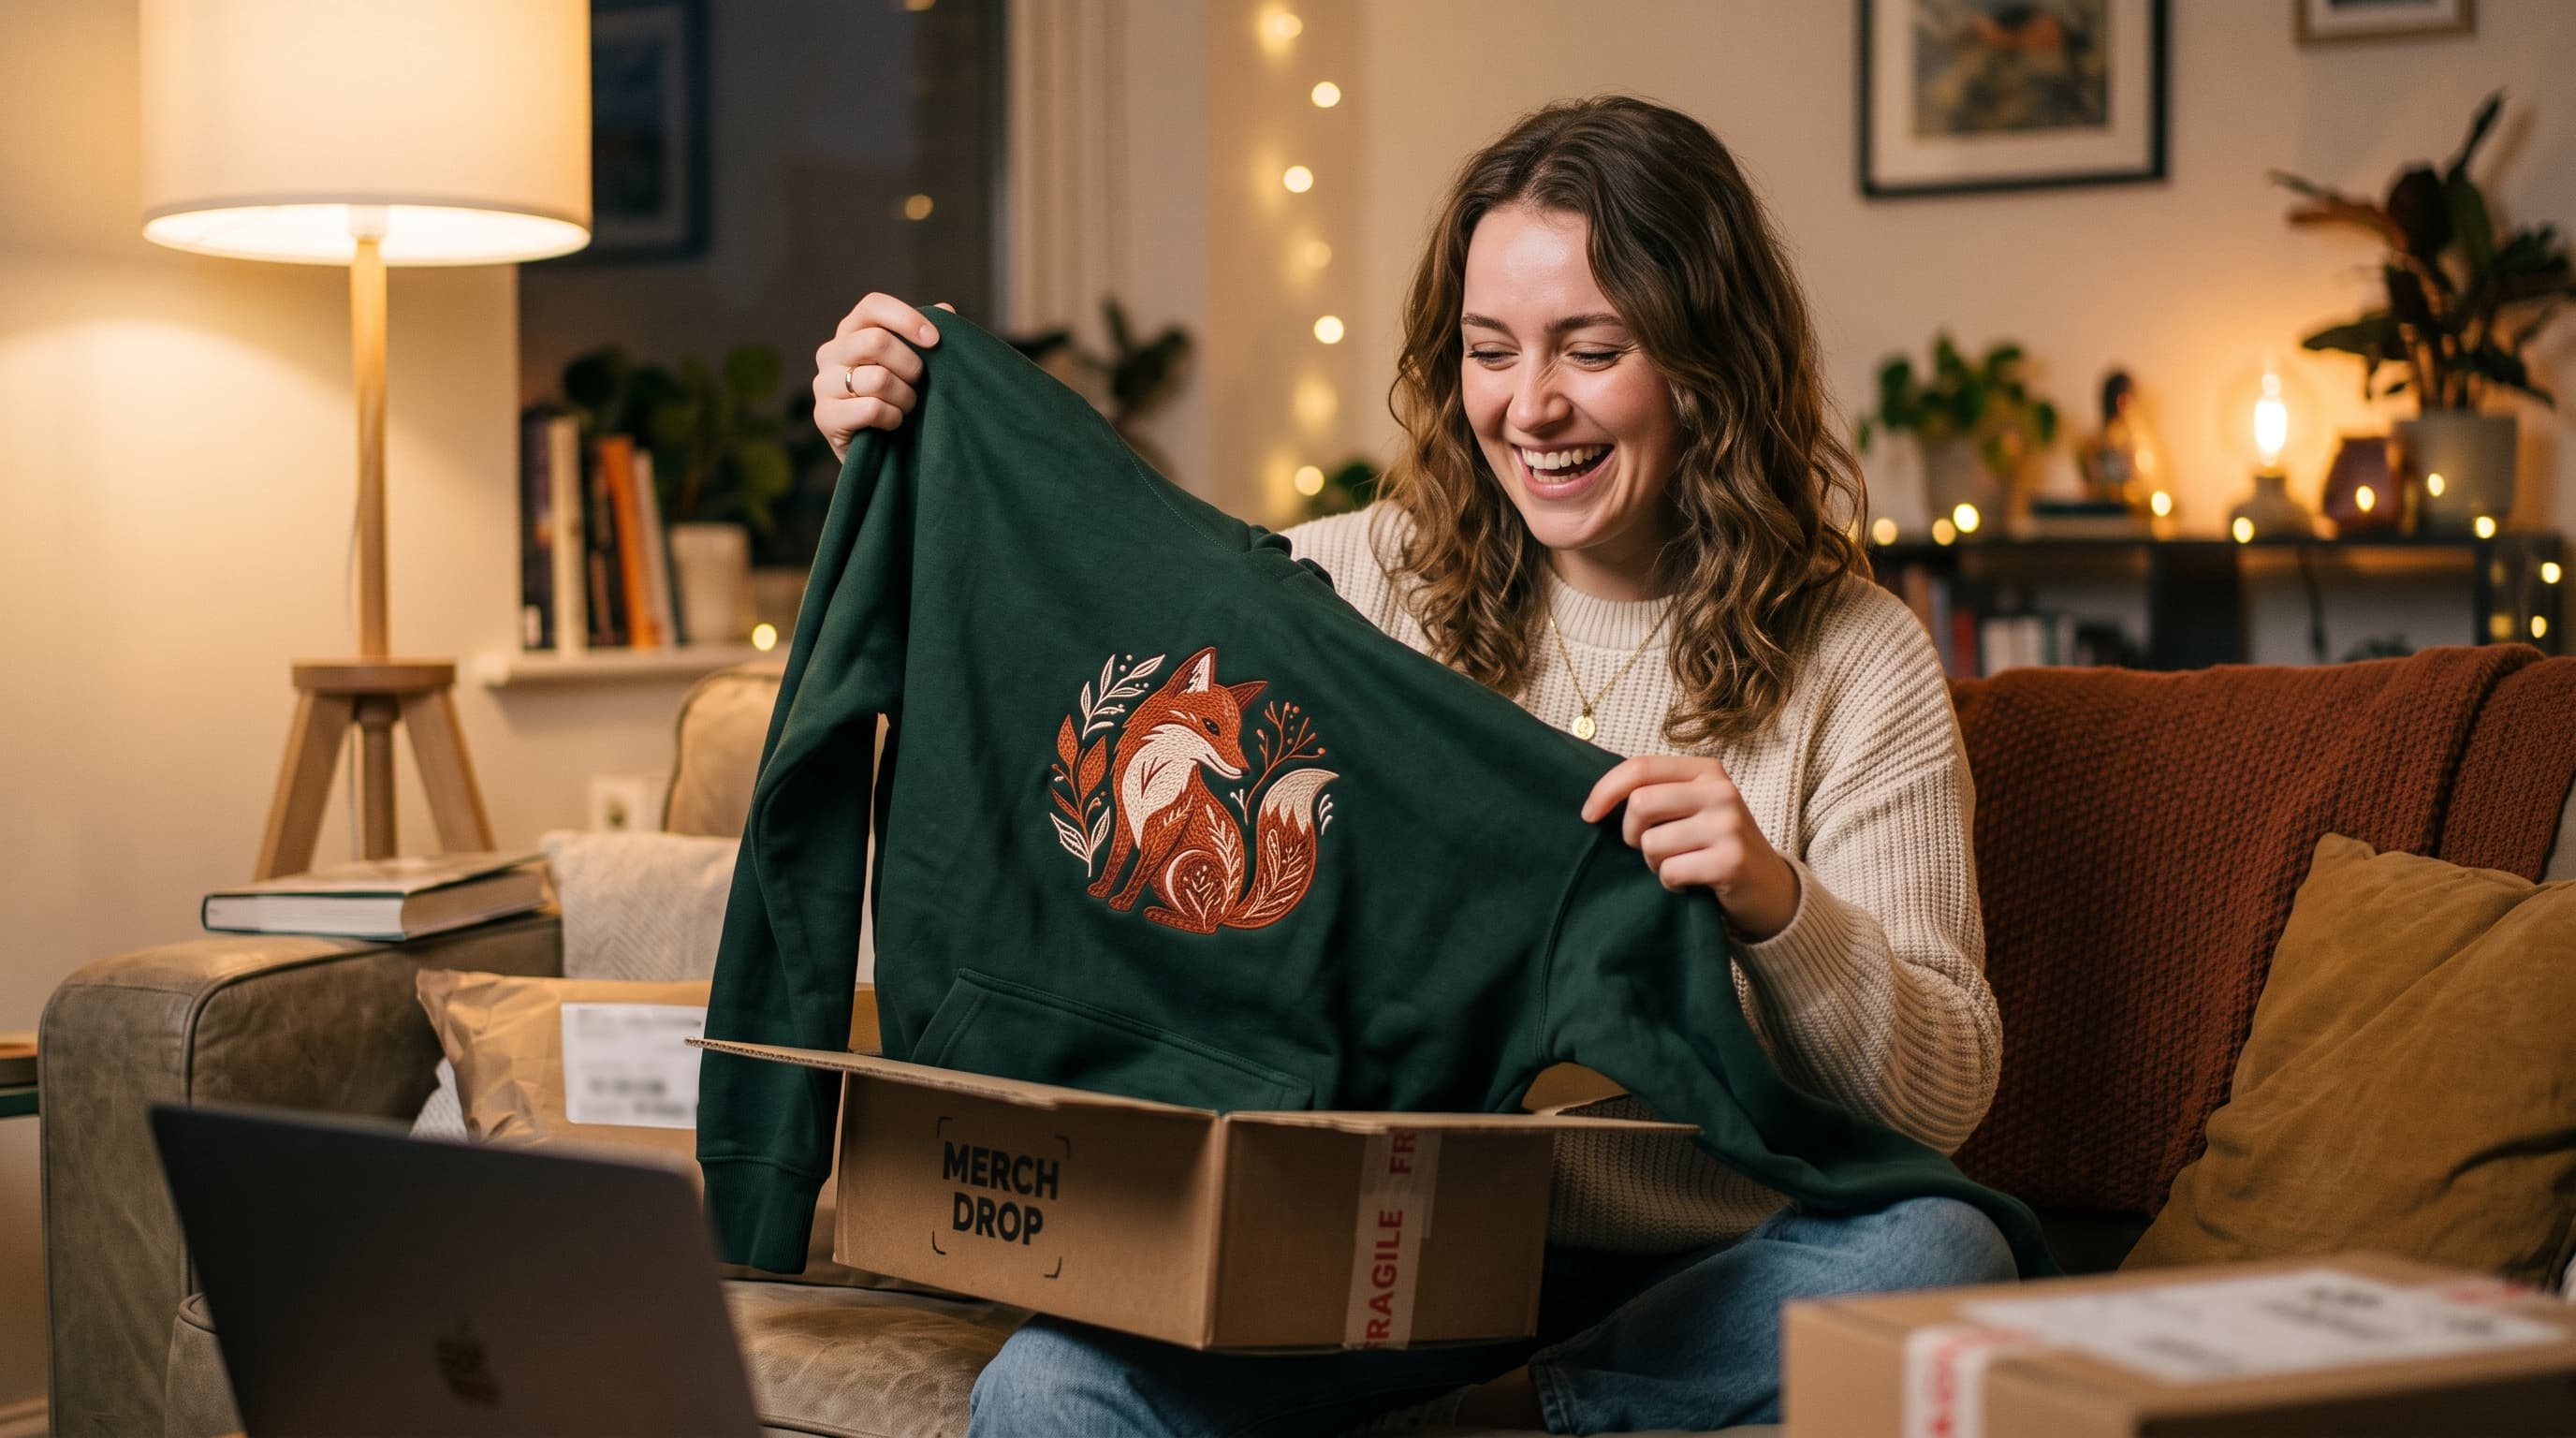
Okay, let’s be honest. The idea of launching your own merch is kind of terrifying, right? Your brain immediately goes to the worst-case scenario: a massive box of 100 unsold hoodies sitting in your closet, mocking you forever. You worry that you’re not big enough, that nobody will buy it, and that the whole thing will be a huge, expensive mistake.
I get it. I’ve been there.
Here’s the thing nobody tells you: you don’t need 100,000 followers to launch your first merch drop. You just need 50 people who would actually wear it. It’s not about audience size, it’s about community connection.
This is the guide I wish I had when I started. It’s a simple, step-by-step plan that cuts through the noise. We're going to skip the corporate talk and focus on how to get one great piece of merch into the hands of your community, without risking a single dollar on inventory. Let's do this.
Before You Design Anything: The 3 Big Questions
Before you even think about opening a design program, we need to talk strategy. This is the boring part, I know, but getting these three things right makes launching merch about ten times easier. Think of it like setting up your OBS scenes for the first time. A little work up front saves you a massive headache when you go live.
1. What’s the “inside joke”?
The biggest mistake new creators make is just slapping their logo on a shirt. Don’t do that. Your logo is for you. Your merch is for your community. The best merch feels like a secret handshake, an inside joke that only people who watch your VODs or hang out in the Discord will get.
So, brainstorm ideas that come directly from your community. What’s the dumb catchphrase you always say? What’s the meme that always gets spammed in your chat? Is there a beloved emote that would look amazing on a mug? My first successful shirt had nothing to do with my stream name. It just had a stupid phrase on it that my mods and I would say all the time. People who knew, knew. That’s what makes it special.
Write down five or ten of these ideas. Don't filter them yet. Just get them out. The goal is to create something a viewer would be proud to wear because it connects them to the fun you have together.
2. What’s the “hero product”?
Your next instinct might be to launch a full store with five shirt designs, two hoodies, a hat, and a sticker pack. Resist this urge. For your first drop, you need to pick one single item and make it absolutely perfect. This is your "hero product."
A classic t-shirt, a cozy hoodie, or a simple coffee mug are the holy trinity for first-timers. Why just one?
- It lowers your risk. Even with print on demand, focusing on one item keeps your setup simple.
- It simplifies your design. You can pour all your energy into making one design great, instead of five mediocre ones.
- It makes marketing easy. Your message is clear: "I made this hoodie!" not "Go check out my store with a bunch of stuff."
Pick one item. You can always add more later after you’ve had a successful first run.
3. How will it be made?
Okay, this is the most important decision you'll make. There are two main ways to get merch made.
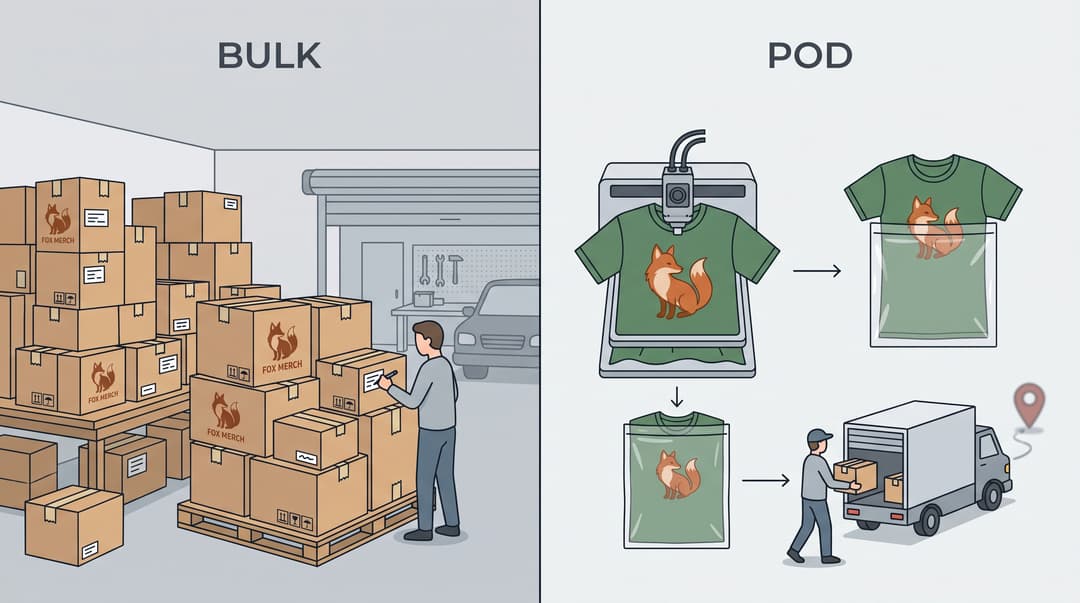
The first is ordering in bulk. You find a printer, tell them you want 50 hoodies, and they ship you a big box of them. The good news? Your cost per hoodie is way lower. The bad news? You have to pay for all 50 upfront, store them in your house, and then pack and ship every single order yourself. If you only sell 20, you’re out the money for the other 30. For a first drop, I do not recommend this.
The other path, and the one I recommend for 99% of first-timers, is to use a print-on-demand service. Here’s how it works: you upload your design to their site and connect it to a simple store. When someone from your chat buys a hoodie, the order goes straight to the POD company. They print just one hoodie, pack it up, and ship it directly to your community member. You never touch the product. You pay nothing upfront. You only make money when a sale happens. It's the zero-risk, start-for-free option that's perfect for a first drop.
Making It Real: From Design to Your First Sample
Alright, you’ve got your inside joke and you’ve picked your hero product. Now for the fun part: making the thing actually exist. Getting the details right here will save you from a lot of pain and support emails later.
Keep your design simple.
I know you have a grand vision of a full-colour masterpiece with intricate details wrapping around the sleeve. I love that for you. But for your first piece of creator merch, put that idea on the back burner. Complex designs with lots of colours are expensive to print and have a much higher chance of something going wrong.
Your best friend for a first drop is a simple, one or two-colour design. It’s clean, it’s classic, and it’s way more likely to print correctly.
Not an artist? No problem.
- Use a simple tool like Canva. It has tons of fonts and simple graphics you can use to create a text-based design or a simple icon. It’s surprisingly powerful for this kind of work.
- Hire someone. Go to a site like Fiverr and you can find an artist who will turn your idea into a print-ready file for $20 or $30. Just be very clear about what you want.
Get the file right.
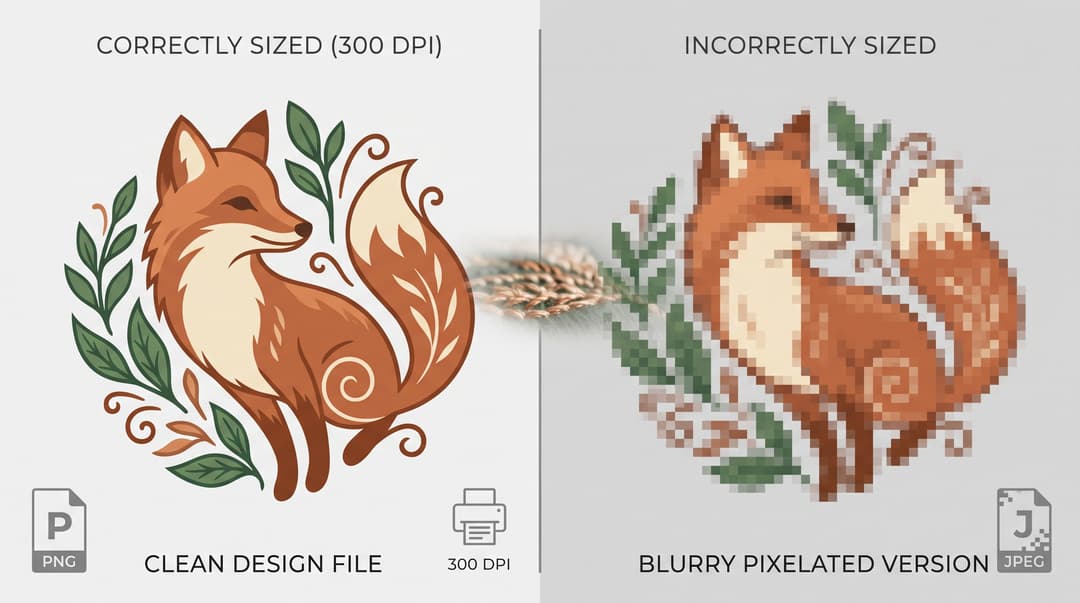
This sounds technical, but it’s actually pretty simple. The company printing your shirt needs a high-quality file, or the final product will look blurry and pixelated. Like streaming in 480p when you could be in 1080p.
Your printer will give you exact specs, but here’s a safe starting point: export your design as a PNG file with a transparent background. A transparent background means that only your design will be printed, not the giant white box it’s sitting in. For a standard t-shirt print, a resolution of 4500 pixels wide by 5400 pixels tall at 300 DPI (dots per inch) is a great, high-quality target. If that sounds like gibberish, just tell your Fiverr artist "I need a 4500x5400 pixel PNG at 300 DPI with a transparent background" and they'll know exactly what to do.
ALWAYS order a sample.
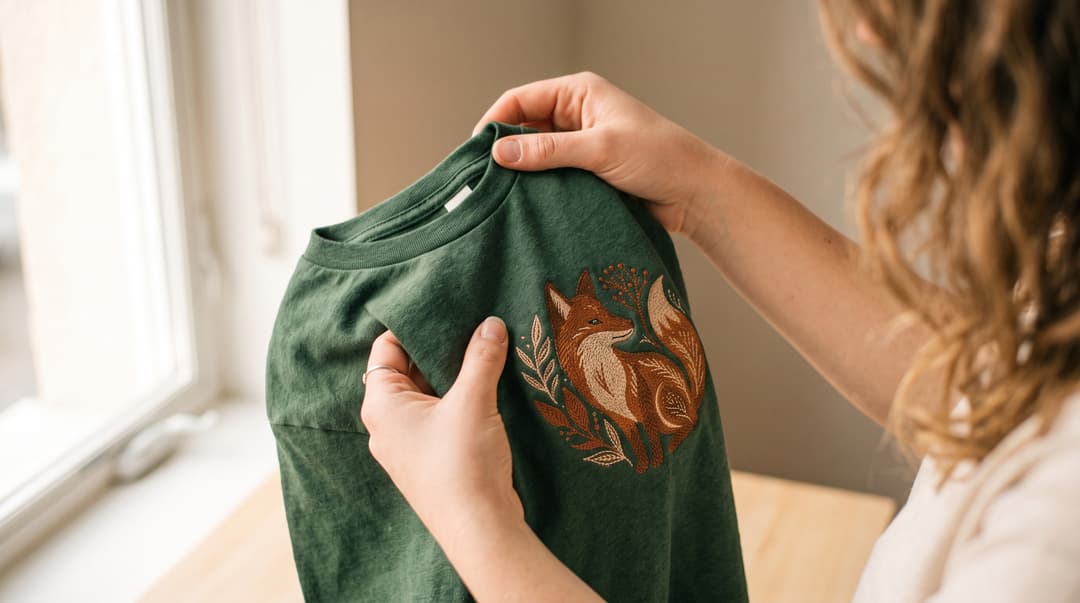
I’m going to repeat that. Always. Order. A. Sample.
Do not list your merch for sale until you have held it in your own two hands. Yes, this means you have to pay the money to get one item shipped to you. It is the best $30 you will ever spend. When your sample arrives, you are quality control. Here’s what to check:
- Print Quality: Is the design crisp? Or is it cracked, faded, or blurry? Is it centred correctly?
- Colour Accuracy: Do the colours on the shirt match the colours you saw on your screen? Sometimes they can be wildly different.
- Garment Quality: Does the t-shirt feel like a paper towel? Is the hoodie comfy or scratchy? You want to sell something you’d actually wear IRL.
- The Wash Test: This is the final boss. Wear it, then run it through a normal wash and dry cycle. Did the design crack or fade? Did the shirt shrink to half its size? If it can’t survive one wash, you can't sell it.
If the sample isn't perfect, fix the issue and order another one. It’s better to spend an extra few weeks getting it right than to sell something you're not proud of.
Getting Your Store Ready: Price, Photos, and Product Page
You’ve got a sample you love. It survived the wash. You’re wearing it right now, aren't you? Nice. Now you just need a place for people to actually buy it. This part is less glamorous, but a good setup makes the whole process smooth for both you and your community.
Set up a simple shop.
You do not need a custom-coded, bells-and-whistles website for your first drop. Your goal is just to have a clean, simple page where people can see the product, enter their payment info, and give you their address. That’s it.
Choose a simple platform that integrates easily with your print-on-demand provider. Most POD services have direct integrations with platforms like Shopify or Gumroad.
- A basic Shopify plan is a popular choice and very powerful. It's a bit more of a setup, but it handles everything.
- A platform like Gumroad is even simpler. It's great for selling just one or two digital or physical products.
Whichever you choose, don’t spend weeks obsessing over the perfect theme or layout. Pick a clean template, upload your product, and move on. You can connect your store link to your Twitch panels, YouTube end cards, or community tab.
Take good photos.
You have your perfect sample. Do not, I repeat, do not rely only on the generic, flat mockups that the POD company provides. They look fake and nobody connects with them. You need real photos.
But you don’t need a professional photographer. You just need your phone and a window. Use your phone in good, natural light to take a few key shots. Stand near a window during the day for the best, softest light.
And before you ask: yes, the AI mockup generators are getting good. No, they're not good enough. People have started calling it "mockup blindness", your chat can tell when a design has been pasted onto a stiff, lifeless shirt, and testing this year's tools turned up the same problems: wonky text, weird fabric, logos that are almost right. Your phone by the window beats all of it, because it's real.
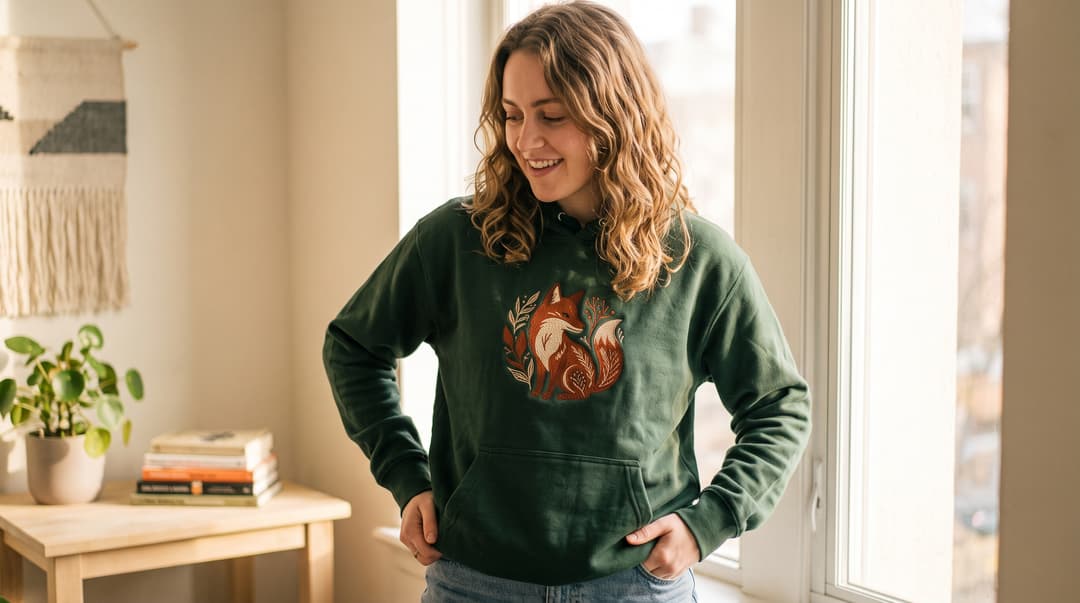
The "On-Body" Shot:
Put the shirt or hoodie on! Let people see what it looks like on a real person. This is the most important photo.
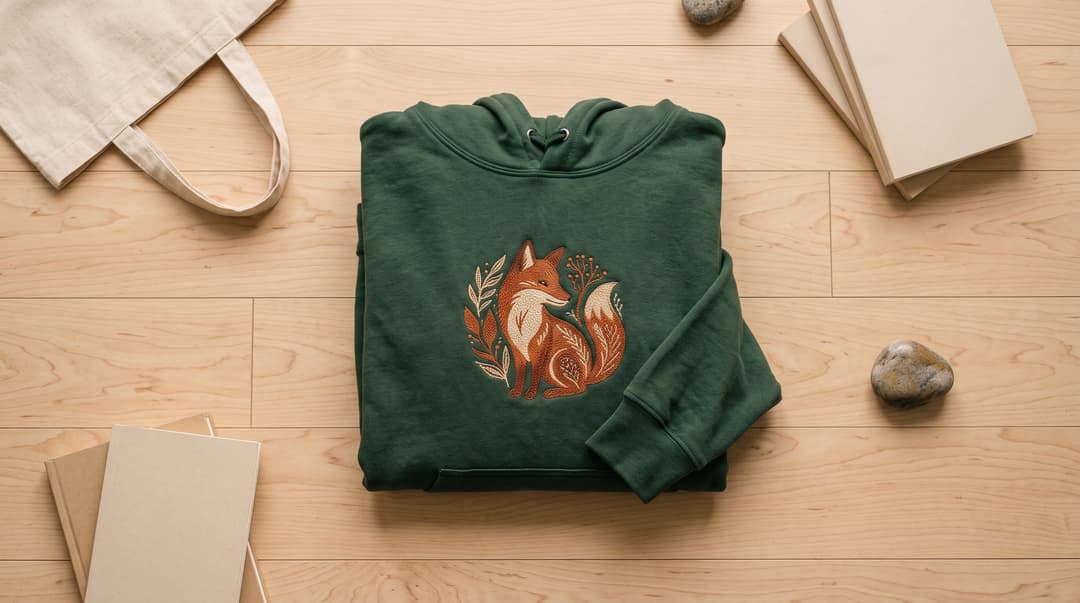
The Flat Lay:
Lay the item flat on a clean floor or table and take a picture from directly above.
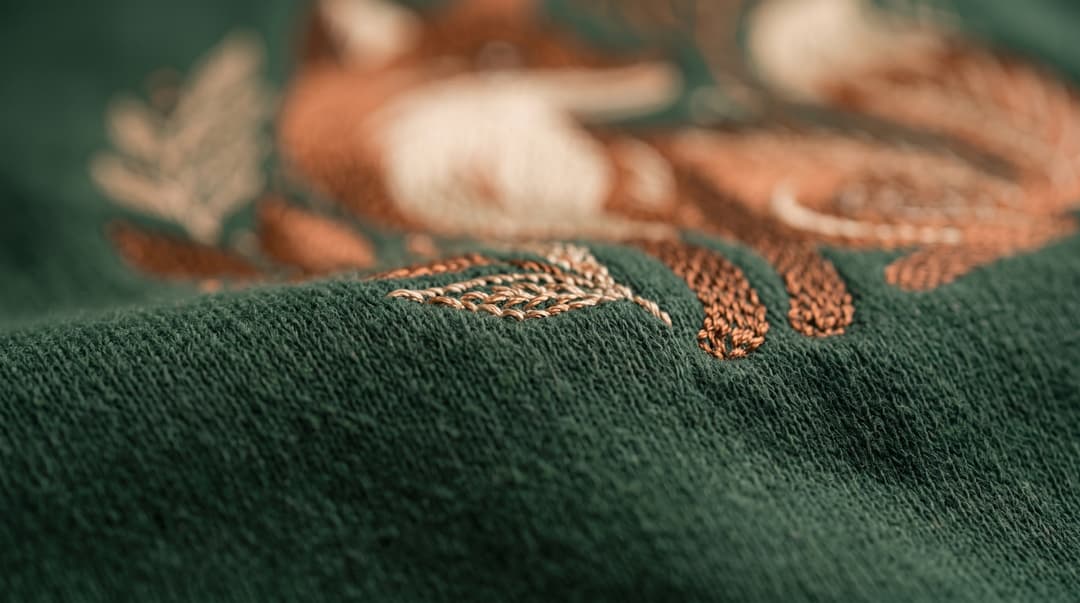
The Close-Up:
Get a detailed shot of the design itself so people can see the print quality.
Good photos will sell more merch than a perfect product description ever will.
Do the simple math for pricing.
Pricing your merch feels scary, but it doesn't have to be. Your goal with a first drop is to learn and make your chat happy, not to get rich. So let’s keep the math simple. Do the simple math for pricing by adding up your costs and then marking it up.
Here’s a real-world example for a t-shirt:
- Cost of the shirt from your POD supplier: $15
- Estimated shipping cost: $5
- Your Total Landed Cost = $20
A good, safe starting point is to double your cost to get your retail price. In this case, you might price the shirt at $39.99. After the platform takes its small fee, your profit on each shirt would be just under $20. Be transparent with your community. Let them know what they're paying for. A price that feels fair is better than a price that feels greedy. Remember, this is a celebration with your community, not a cash grab.
Go Live: Your Simple Launch Day Checklist
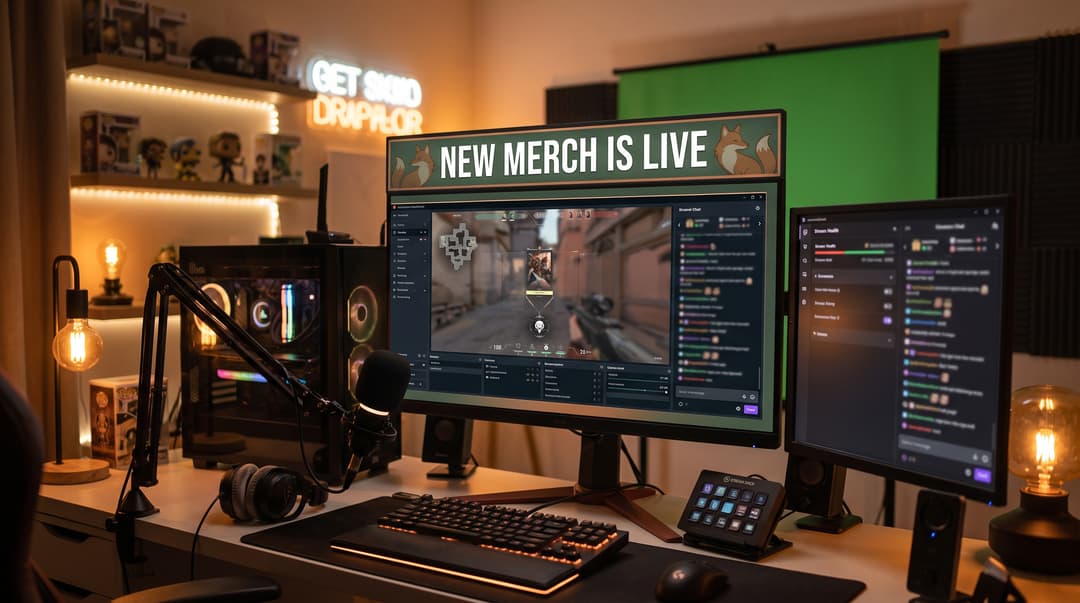
The sample is perfect, the store is live, and the photos look great. All the prep work is done. It’s time to go live. Don't overthink it. The goal is just to let everyone know the merch exists and where they can find it.
Here is your super simple launch day checklist.
- Have your links ready. Get a short, clean link for your store (like using a bit.ly link). It’s much easier for people to type !merch in chat than a long, complicated URL.
- Change your stream title. Make it obvious! Something like "NEW MERCH IS LIVE! | Playing Some [Game Name]".
- Set up a chatbot command. This is a must. Create a
!merchcommand that automatically drops the store link in chat. - Post on all your socials. Tweet it out. Put it on your Discord announcements. Use your YouTube community tab. Use one of those great photos you took.
- Be ready for questions. People will ask about sizing, shipping times, and materials. Have the answers ready to go.
Conclusion
And that’s it. That’s the whole playbook for how to launch your first merch drop.
The secret isn’t some complicated marketing strategy. It's starting small, using print on demand to completely eliminate your financial risk, and focusing all your energy on making one single thing that your community will genuinely love. It's about creating something that feels like it belongs to your corner of the internet.
Remember, a "successful" first drop isn’t selling a thousand hoodies. A successful first drop is selling twenty. It’s seeing people in your Discord change their profile pictures to them wearing your shirt. It’s creating a new, tangible connection with the people who support you.
You’ve built the community. You can totally do this. Now go make something cool.
FAQ
How much money do I need to start?
If you use a print-on-demand service, you can start for almost $0, besides the cost of ordering one sample for yourself.
What if nobody buys my merch?
With print-on-demand, that's okay! You haven't lost any money on inventory, and you've learned something for next time.
How many different items should I sell for my first drop?
Just one. Seriously. Pick one amazing hero item and focus all your energy on making it great.
Keep reading
- When to Drop Holiday Merch: Black Friday or Before?
Deciding on your holiday merch drop timing? We break down the data on launching before vs. during Black Friday to help you pick the right strategy for your stream.
- How to Announce a Merch Drop Without Killing the Vibe
Planning a merch drop? Here’s how to announce it to your community without feeling like a pushy salesperson. A step-by-step guide for streamers.
- Streamer Merch Collabs: How to Team Up on a Joint Drop
Thinking about a merch collab with another streamer? Here’s the no-BS guide on how to find a partner, split the profits, and launch a joint drop your communities will love.